Wednesday, October 19, 2011

Making Interchangeable Headbands

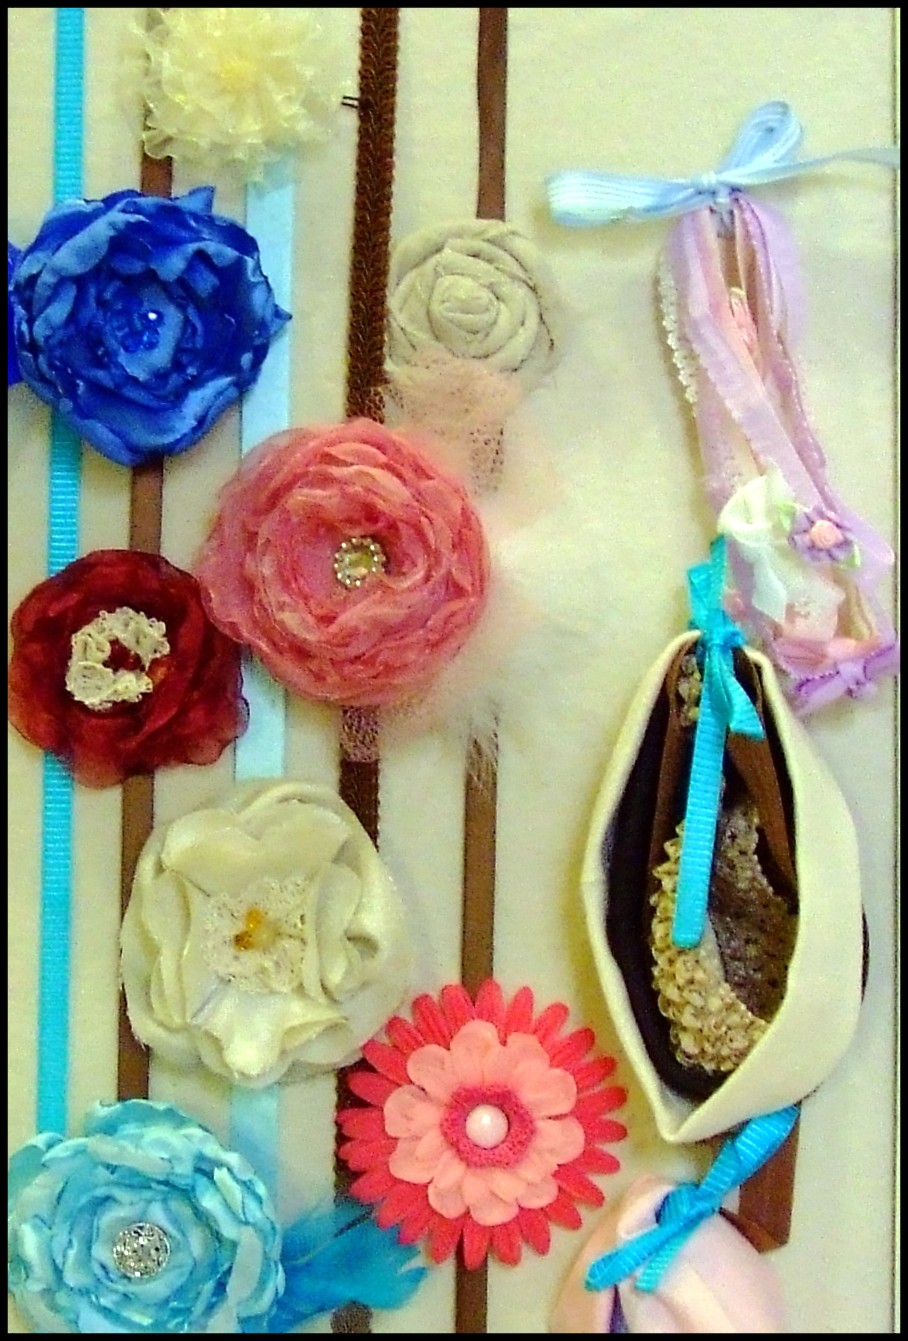
I'm getting a huge stash of headbands, flowers and bows and thought I'd better come up with a way to simplify.  I decided to make some interchangeable headbands.  I went to dollar tree and bought a variety of headbands- thin, thick, different colors, etc. 

Then I went home and cut a tiny piece of bias tape-   I simply folded the bias tape ends under and sewed it onto the side of the thick headbands- making a loop- like this.


For the skinny headbands you'll need bias tape and you'll also need two felt circles and some hot glue.I folded the bias tape ends under and sewed it onto a felt circle. 

Then I placed one felt circle under the headband clip and one felt circle (with the bias tape sewed on) on top.  When I had it positioned I lifted the top circle, applied a generous amount of hot glue and pressed the top circle back in place. 

Now I can use the same headband to hold on a bunch of different bows or flowers- just attach them using the hair clip on the back of the flower and clipping it through the little loop you made with the bias tape. 

Getting the headbands at dollar tree was cheaper then buying elastic and sewing my own! Dollar Tree also had these sweet little baby hats in a variety of colors.  I grabbed a few and sewed my little bias tape loop on the side where I'd like an embellishment- and now I can add flowers and bows to them as well.  Fun!


signature

Pin It!

Monday, October 17, 2011

Adorable Halloween Clip Art

I found the CUTEST Halloween clip art today.  It costs a dollar and you can download several graphics... all of them SUPER adorable.  Check this out.  Look up all the Halloween clip art by Kristi W designs.  Please don't try to swipe the files from my blog- this is too sweet a deal to miss!

I used the graphics I purchased to make Halloween Don't Eat Pete Boards for my activity day girls.  If it wasn't a copyright violation I'd give you the file of the game board I made- because they turned out amazing -if I do say so myself! 

I put the "boards" in a plastic sheet protector to keep them clean and pretty.  I'm going to give these to the girls with a little bag of corn candy so they can play their game at home with their families.
signature

Pin It!

Tuesday, October 11, 2011

How to Make a Bow Holder from a Picture Frame

I'm not the first to do this- not by a long shot.  However, I was so excited about how it turned out that I wanted to share it.  I've been gathering up some accessories to use in my Not-really-photo-shoot-shoots-because-I'm-not-good-enough-yet picture taking sessions and they were turning into a jumbled mess.


I looked online and found a tutorial or two- here is one of them.  I improvised.  I found a 24 inch tall picture frame with no glass at a thrift store for 3 dollars.  I spray painted the frame cream.

The frame had an ugly print on cardboard inside of it.  I traced the board onto duck cloth.  Then I sewed the side ribbons in place on the fabric.  Then I hot glued the fabric to the backing  board.  Next I hot glued the ribbons onto the board, only attaching them at the top and the bottom.  Squeeze the board back into the frame and secure.  If you are going to use a thick fabric you may need to trim down the original backing board a bit so that it will all fit back into the frame opening after the fabric and ribbons are attached. 

Attach hair clips and tie the headbands on with the side ribbons.  Much Better!
signature

Pin It!

Friday, October 7, 2011

Activity Day: Dream Box

For activity day we had a few projects to finish up.  One thing we did was to decorate notes to send to the girls that haven't been attending primary (children's church group). 

Then we used the remainder of our time to decorate these little white boxes that I got at Michaels on clearance for 29 cents.  The girls raided my sticker stash and used markers to decorate their dream boxes.  I gave each of the girls a picture of the temple to put in their box.  They can put in other treasures and little notes of their goals and dreams.  They seemed to have fun.

Here are a few pictures that I snapped while they were working on their dream boxes...


signature

Pin It!

Wednesday, October 5, 2011

Halloween Knock and Run Treat Box


I've been working on a Halloween Knock and Run Kit.  What is a knock and run kit you ask?  Well, when I was growing up kind friends would fill a plate with goodies, set them on my doorstep, and then knock and run.  The goal was to leave the treat without getting caught.  Kids LOVE doing this.  My little goblins really get into it- they dress in dark colors and plot and plan the best way to deliver the goods with the least chance of discovery.  This little service project really gets your adrenaline going!

Normally you put together your own plate of treats before heading out to do the "happy haunting" but I thought I'd put together a little knock and run kit for a loved one.  If you want to put one together here are some ideas for the fillers:
  • cute paper plates
  • holiday ink stamps and stickers
  • tags
  • ribbon
  • sugar cookie mix
  • frosting with decorator tip
  • holiday sprinkles
  • cookie cutter
  • colorful instructions on how to knock and run
Now you can make a kit for friend!  Or if you have little ones like I do gather up a few of the items listed above and have the kids help to make some treats- then head out to so some mysterious, top secret, deliveries--- don't get caught!

Pin It!

Monday, October 3, 2011

Free Holiday Mini Banner Cutting File for Silhouette

I've seen these adorable mini banners all around and decided to make one for my Halloween tree.  If you'd like to make one you'll need:
  • 6 1/2 feet of embroidery floss
  • five different sheets of scrapbook paper in a holiday or color coordinating theme.  Target has packages of paper in their dollar section
  • Silhouette machine or a ruler and exacto knife
  • double sided tape
Copy this free file and open it with robo master.  Select "get outline", outside only and apply- then cut out your diamond shapes one paper page at a time.  (I realize that this is NOT the most paper efficient file to use- but for some reason when I lined up all my diamonds they would not stay down- and it was a cutting disaster- my cutting mat is losing some of its stick- but to avoid this problem I went with the extra space version for you).

Fold all of your diamonds in half with a crisp crease.

Place your cute paper blank side up and apply a piece of double sided tape.

Apply floss, keeping the papers about a thumbs width apart.  Fold over and press firmly in place.

Drape sweet banner across picture frames, windows, mirrors, Halloween trees, etc.  Then make one for each of your favorite holidays.

10/10/11  I linked up to Making the World Cuter
signature

Pin It!

Thursday, September 29, 2011

Learning How to Use Your Silhouette

The silhouette is a fun machine- once you can figure out how to use it.  I am NOT an expert- in fact, it seems like I have to learn how to do the very basic basics all over again each time I get out my machine.  However, I HIGHLY recommend the silhouette because you don't have to buy any additional files- you can cut any jpeg file that you make or find on the internet for FREE.  Awesome! 


In my search for help I did find a few websites that offer tutorials and  inspiration so I thought I'd pass those along.

Here is the official silhouette website with a few tutorials.

Flickr has a silhouette group full of inspiring ideas. 

You Tube has several helpful clips- search "silhouette craft cutter"- yeah for how to videos!  Here is one example.

The silhouette company is quick to get back to you if you email them with any questions- they have been very helpful that way.  Just go to their official website, click on the contact tab and get their email address.

Anyone else have tutorial suggestions?
signature

Pin It!
Related Posts Plugin for WordPress, Blogger...